AequilibraE Project#
This page is dedicated to a practical implementation of the AequilibraE project. In case you are interested in better understanding its structure, please visit its documentation webpage.
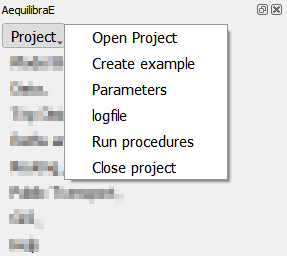
Under the project menu, there are some options to choose from and the following sections explore some of these actions.
Open & Close project#
These options are pretty straightforward and are used either to open or close a project. You just have to click Project > Open project to open a project, and Project > Close project to close it.
Keep in mind that to open another project or to create a new one, you must close the currently open project, otherwise AequilibraE is going to return an error.
Run procedures#
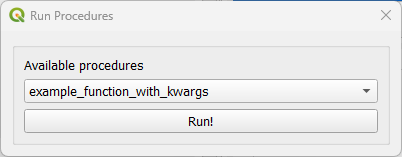
The run procedures allows you to define model entry points and their default arguments, and run models to the model itself. Usage at QAequilibraE is pretty straightforward: select one of the available functions, click on the Run! button, and wait for the log file to open with the output results of the model.
To better understand the application of the run module, we encourage you to read about it at the AequilibraE documentation.
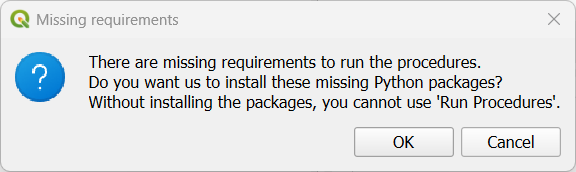
It is possible to use one of the default functions or create your own, including function calls
to external libraries. To do so, don’t forget to include a requirements.txt file with the
dependencies in your project’s run folder. The next time you open ‘Run procedures’, a message
box asking about dependencies installation will open. If you choose to install the dependencies,
the process resembles the one when installing QAequilibraE. Wait until it’s complete, and restart
the ‘Run procedures’ to validate the installation.
Scenarios#
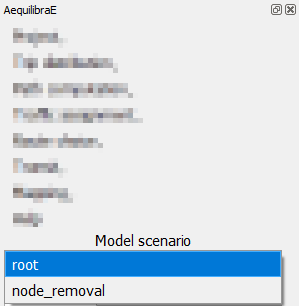
QAequilibraE now presents a scenario system, in which you can manage multiple scenario variants within a single project.
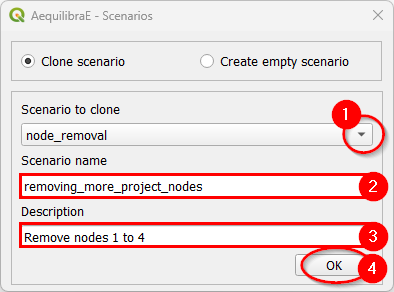
When a project is created, its default scenario is ‘root’. QAequilibraE allows you to clone a scenario or create an empty scenario. To clone a scenario, you first choose the base scenario to clone (1) and the name of the scenario (2). An useful scenario description can also be added at the ‘Description’ box (3). By default, the scenario to clone is the currently active scenario, but you can choose anyone. To clone the scenario, just click on the ‘OK’ button at the bottom of the screen (4).
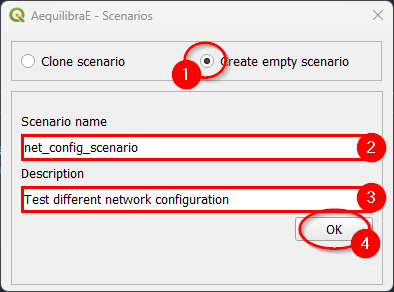
To create an empty scenario, choose the ‘Empty scenario’ option (1), and set the scenario name (2) and description (3). To create an empty scenario, just click on the ‘OK’ button at the bottom of the screen (4).
A list containing all project scenarios is presented at the bottom of the widget screen, and it can be used to change the currently open scenario. When changing the scenario, all geometric layers available at the “Geo layers” tab also change.